Craft Smarter Mealtimes with DIY Feeders and Storage

Roll up your sleeves and transform feeding time with practical, creative builds that combine convenience, hygiene, and pet well-being. We’ll explore DIY pet feeders and storage solutions, from elevated stations and gravity dispensers to airtight bins and tidy scoops, prioritizing safety, comfort, and everyday simplicity. Expect real-world tips, material guidance, and stories from households that solved spills, pests, and portion chaos with approachable designs customizable for dogs, cats, and small companions. Begin building today, and enjoy calmer routines, cleaner floors, and happier, healthier pets.

Start Right: Materials, Tools, and Safety

Successful builds begin with materials that respect your pet’s health and your home’s reality. Favor stainless steel, food-grade plastics, sealed hardwoods, and lead-free ceramics where contact with food or water occurs, while keeping hardware corrosion-resistant and edges rounded. Plan for non-slip stability, easy disassembly, and thorough cleaning. Choose finishes that fully cure and avoid any lingering odors. Protect curious noses and paws by eliminating pinch points, shielding fasteners, and testing sturdiness before first use with kibble-free trials and gentle, supervised exploration.
Any surface touching kibble or water should be unquestionably safe and simple to sanitize. Stainless steel bowls remain gold standards, while certified lead-free ceramics and tempered glass work when chips or cracks are routinely checked. Wood looks beautiful but should never contact food directly; instead, use removable bowls, liners, and trays. For plastics, seek BPA-free, FDA food-grade options like HDPE or PP. Prioritize smooth, non-porous textures, tight seams, and components that tolerate hot, soapy water without warping, leaching, or trapping residue.
You can produce confidently finished results using just a drill/driver, a good handsaw or jigsaw, sandpaper across a few grits, a square, measuring tape, clamps, and a hole saw for bowl openings. Add painter’s tape, a deburring tool, and a countersink bit to tame sharp edges and reveal cleaner lines. Safety glasses, hearing protection, and a dust mask keep projects comfortable. A simple cutting guide and a steady table substitute remarkably well for expensive shop stations when patience and careful layout lead the way.

Design for Comfort, Portion Control, and Calm

Thoughtful dimensions and mechanisms can transform chaotic mealtimes into peaceful rituals. Account for joint health, snout shape, whisker sensitivity, and individual eating pace while planning height, spacing, and bowl geometry. Portion control starts with clear measurements and repeatable dispensing, not guesswork. Designs should lower anxiety with predictable placement, non-slip footing, and quiet operation. Some pets benefit from separation and visual barriers that reduce competition. Testing prototypes with treats, then full meals, reveals adjustments that make routines easier for every species and personality.

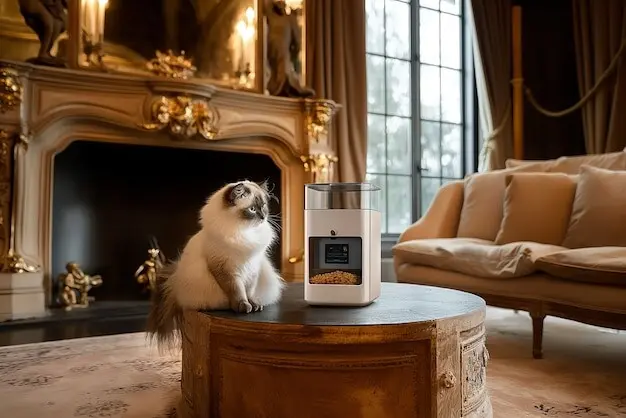
Finding a Comfortable Bowl Height

Comfort is not one-size-fits-all. For many dogs, bowls positioned near lower chest height can ease neck strain, yet veterinary guidance matters, especially for large, bloat-prone breeds. Cats often prefer shallow bowls that protect whiskers from pressure and tilt slightly forward. Flat-faced pets breathe easier with minimal elevation and wide openings. Start by measuring elbow height for dogs, then test small increments, watching posture and willingness to linger. Slip-resistant mats stabilize everything. Ultimately, your pet’s relaxed stance and steady eating rhythm validate the chosen height.

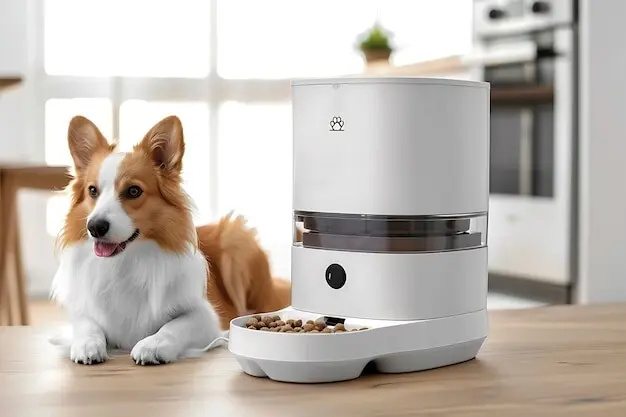
DIY Portioning Mechanics That Actually Work

Repeatable portions keep weight and energy steady. Marked scoops and calibrated sliders on gravity chutes provide simple consistency. Rotating disks with adjustable apertures can meter kibble without electronics, while divider trays pre-portion meals for hectic mornings. Consider a small digital scale integrated under a removable bowl platform, enabling quick spot-checks before serving. Always label human-sized measuring cups with pet-specific volumes to reduce guesswork. Test with rice before kibble to confirm flow, then record final settings so everyone in the household maintains the same routine.

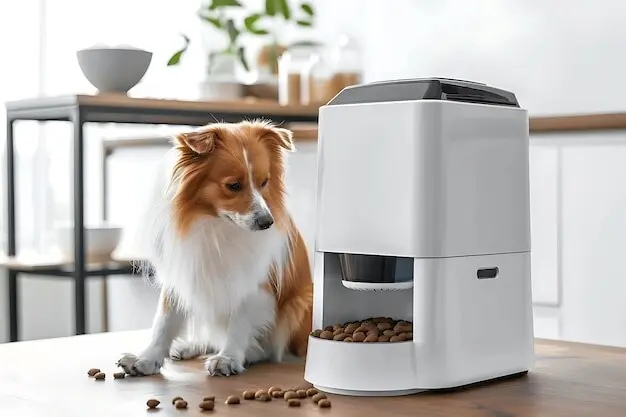
Behavior Clues That Shape Better Builds

Observing mealtime body language turns design into empathy. Guarding or crowding suggests separated stations or visual partitions. Gulping benefits from puzzle mazes or textured inserts that slow intake gently. Timid pets thrive with quieter mechanisms and predictable approaches from one side only. Expand feeding surfaces so whiskers avoid rubbing, and ensure other animals cannot easily intrude. Reward calm investigation of new hardware with tiny treats and praise. When behavior shapes design, you reduce stress, avert scuffles, and build positive associations every single day.

Build Types: Gravity, Timed, and Puzzle Feeding

{{SECTION_SUBTITLE}}

Reliable Gravity Dispensers from Everyday Parts

Create a steady, jam-resistant flow using a food-grade hopper, a tapered funnel, and a short, wide chute that rejects bridging. Line interfaces with silicone gaskets to prevent leaks and keep pests out. A sliding gate or rotating collar lets you shut off flow instantly during refills or training. Anchor the hopper with a broad base, and include a clear viewing window for monitoring levels. Before serving, test throughput using dry rice and make micro-adjustments to outlet width until movement stays smooth and predictable.

Simple Timing Without Complex Electronics

For low-tech scheduling, consider a rotating tray divided into sealed segments, advanced by a quiet kitchen timer or manual index at predetermined hours. Alternatively, pre-portion containers stored in an integrated cubby can be offered on a color-coded schedule that household members follow consistently. Add tactile markers for night feeds and maintain a printed plan on the unit’s side. Keep lids secure from inquisitive paws, and verify that every compartment opens fully without jamming under crumbs. Clean easily by lifting removable inserts and washing with hot, soapy water.

Quiet, Serviceable DIY Fountain

Build a compact fountain using a ceramic basin, a USB pump with adjustable flow, and a simple riser that spreads water gently across a removable top plate. Keep vibrations minimal by placing the pump on a silicone pad and routing cords through grommeted exits. Use wide channels with rounded transitions for easy brushing, and avoid foam traps that gather biofilm out of sight. Schedule weekly partial disassembly, then monthly deep cleanings. Replace carbon and prefilter media on time. The result is an inviting, whisper-quiet source that encourages steady sipping.

No-Splash, No-Trip Hydration Zones

Tame splashes with a recessed tray, raised lip, and a heavy or weighted bowl that resists playful paws. For enthusiastic drinkers, consider a floating disk insert or a ripple top that slows surges without frustrating access. Use grippy mats and low-profile edges to minimize tripping in tight spaces. Position stations away from foot traffic and food areas to reduce crowding and contamination. Test walking paths at night lighting levels to confirm safe visibility. A small wall hook or cubby for towels keeps cleanup handy and consistent.

Airtight Containers Tailored to Your Pantry

Design bins that fit exact shelves, corners, or under-island spaces, maximizing vertical room with slim, tall forms. Use food-grade HDPE panels or line wooden carcasses with removable, dishwasher-safe inserts. Add silicone gaskets, robust latches, and a viewing window that shows remaining volume without frequent opening. Consider built-in tracks or casters for smooth movement during refills. Integrate a scoop dock and a small funnel for tidier transfers. Light-blocking panels and cool placements away from ovens or sunny windows extend freshness and support consistent taste.

Labeling, Dates, and First-In-First-Out

Clarity prevents waste. Print large, legible labels indicating food type, scoop size, and daily targets. Affix a dry-erase panel for opened-on and use-by dates so everyone sticks to the same schedule. Store newer bags behind older ones and pour last portions on top only if bag-in-bin practices remain intact. For multiple animals, color-code containers and scoops to prevent mix-ups. Keep a simple checklist near the station summarizing morning and evening portions, medications, or supplements. Organized routines guard nutrition and eliminate frantic guesswork during busy weeks.

Odor, Pests, and Household Harmony

Contain smells and deter intruders by sealing every seam and limiting lid openings to short, efficient moments. Avoid fragranced sachets near food; instead, rely on airtight construction and frequent wipe-downs. Keep floors crumb-free with a wide mat and a handheld brush docked nearby. If pantry moths or ants appear, deploy traps and barriers outside containers, never inside. Elevate bins slightly to improve airflow and discourage dampness. Transparent maintenance and tidy surroundings win over skeptical family members, making your build a welcome, harmonious presence in shared spaces.

Personal Style Without Compromising Hygiene

Unify form and function by selecting a palette that complements surrounding furniture while keeping cleanup effortless. Choose finishes that tolerate moisture and grease, and keep decorative elements clear of bowl rims and touchpoints. Consider routed handles, hidden cable channels, and magnetic access panels that disappear visually yet open instantly. Vinyl stencils and UV-stable paints add crisp personality without shedding. Engraved nameplates, silicone paw pads, and soft-close hinges quietly elevate the experience. When personality lives beside practicality, your station becomes a cherished fixture, not seasonal decor.

Upcycling with Confidence and Class

Give old furniture or containers a second life by reinforcing structure, sealing surfaces, and adding food-safe inserts that remove easily for washing. Convert a nightstand into a pull-out feeding drawer, or turn a weathered crate into a mobile storage bin with casters. Swap questionable finishes for water-based coatings and eliminate splinters through meticulous sanding. Retain character with subtle repairs, not heavy disguises. Document materials, take before-and-after photos, and share parts lists so others can replicate responsibly. Smart upcycling saves money, reduces waste, and looks remarkably polished.
Pikatezahiferuzevahipitefu
Privacy Overview

This website uses cookies so that we can provide you with the best user experience possible. Cookie information is stored in your browser and performs functions such as recognising you when you return to our website and helping our team to understand which sections of the website you find most interesting and useful.